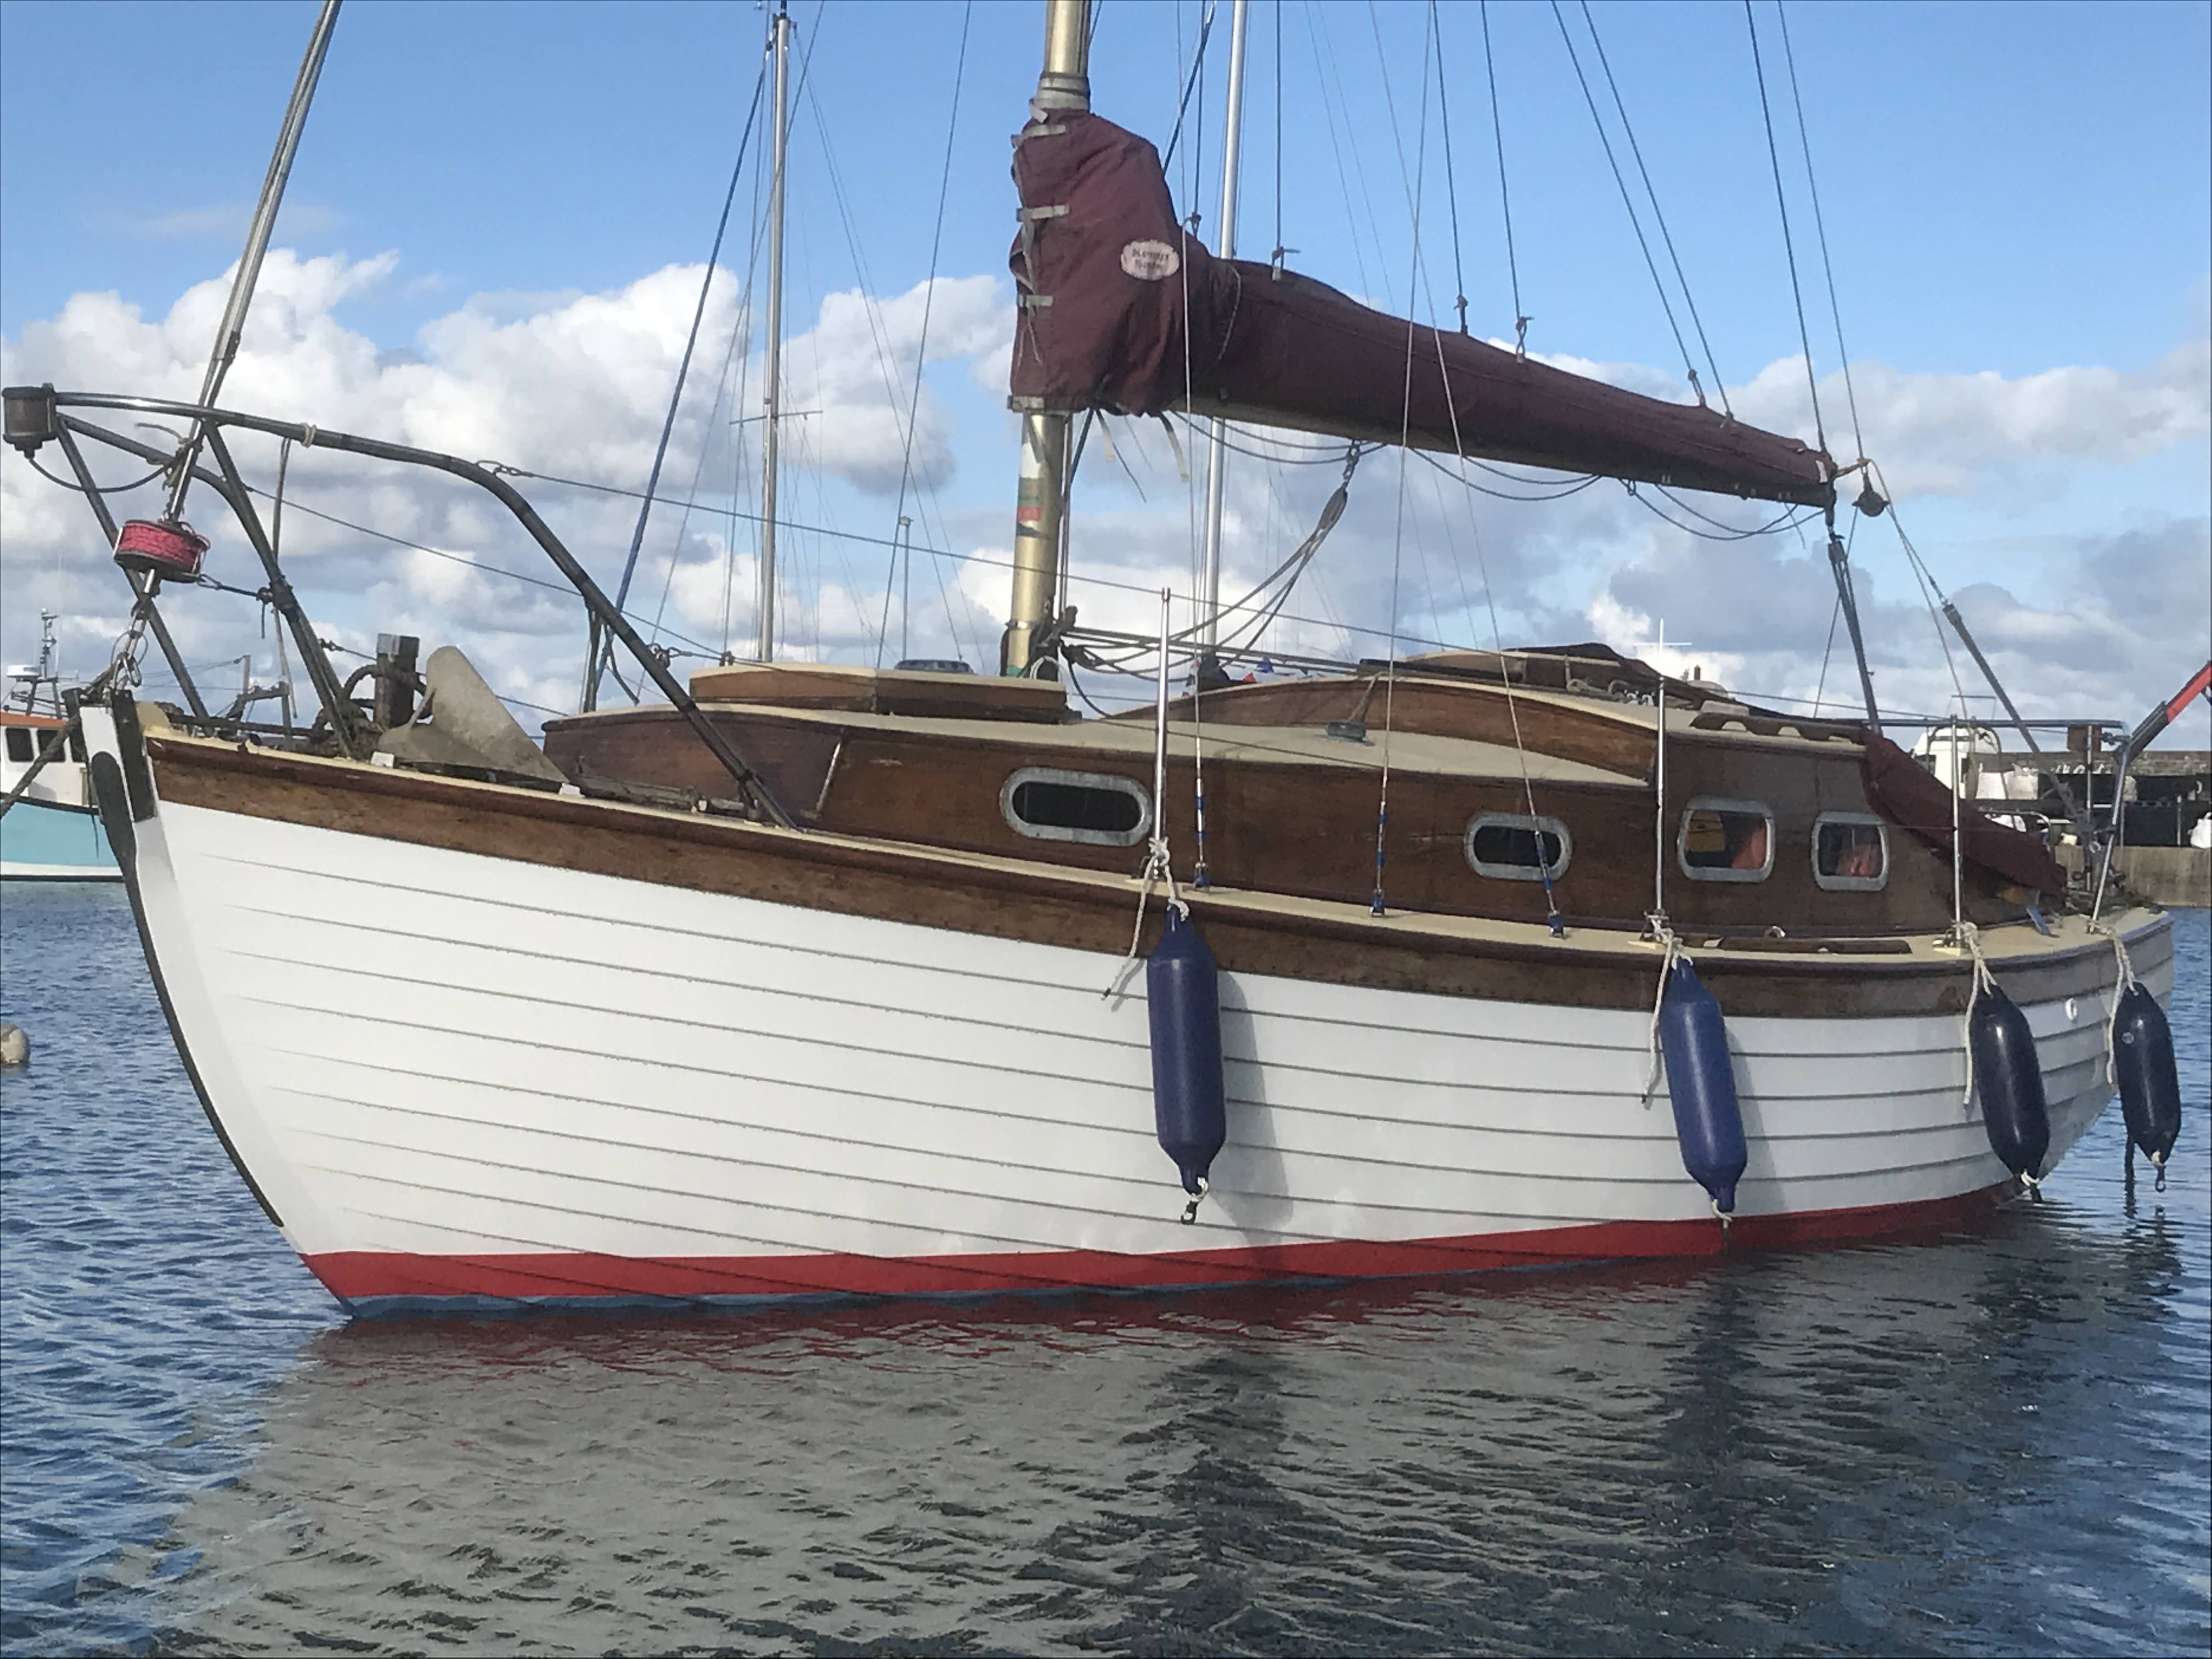
Although we did get 'Enfys' afloat in mid July 2020 for a short season's use I had been unable to access the boat very much and did little more than give her a fresh coat of antifoul prior to launch.
I normally do paint and varnish refresh on a rolling basis every three years or so.. Hull topsides, Deck and Brightwork and had some upper works maintenance planned for 2020 that didn't happen.
So armed with a list of jobs to catch up on as soon as the 2021 early spring weather got better and access to the storage compound was allowed I got busy...
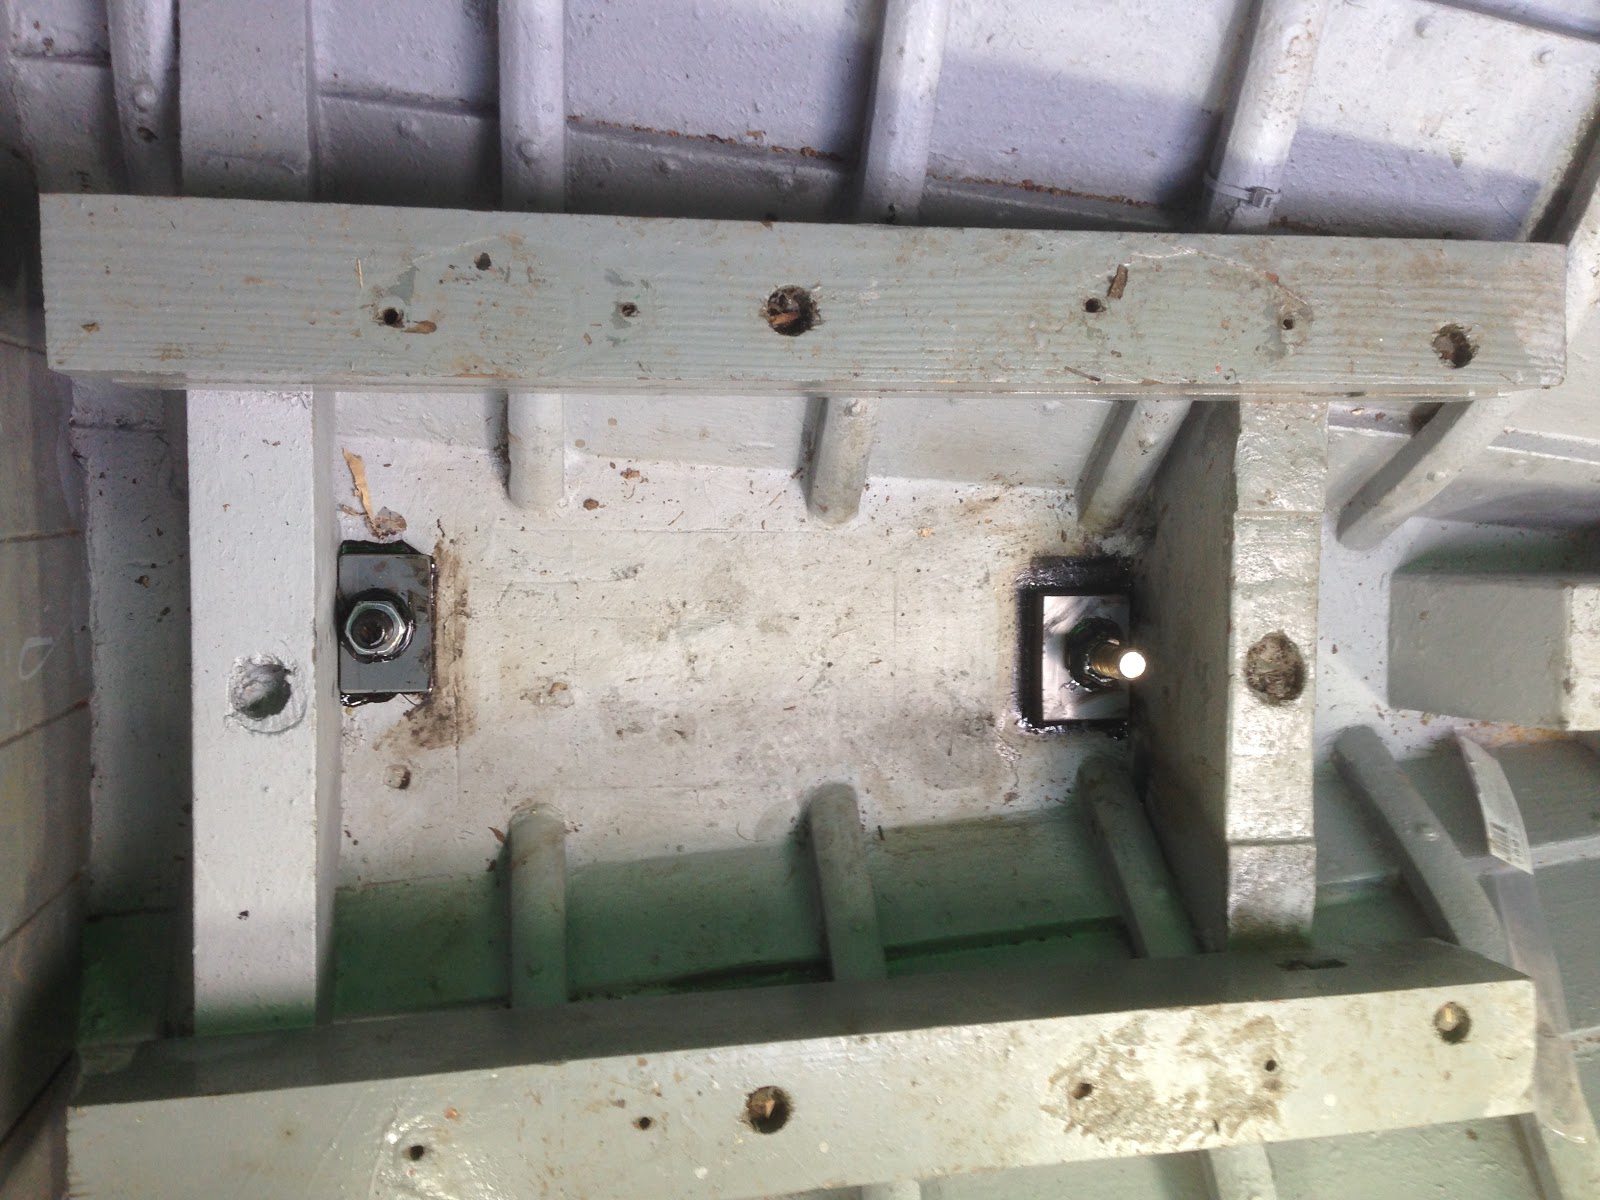
First on the list was the replacement of two of the guard rails stanction pads on the starboard side. These had gone soft and begun to crumble so the securing nuts were freed and removed and new pads cut from fresh iroko. This job was done on the bench at home and completed parts taken back to the boat.
 |
| Crumbling mounting pad |
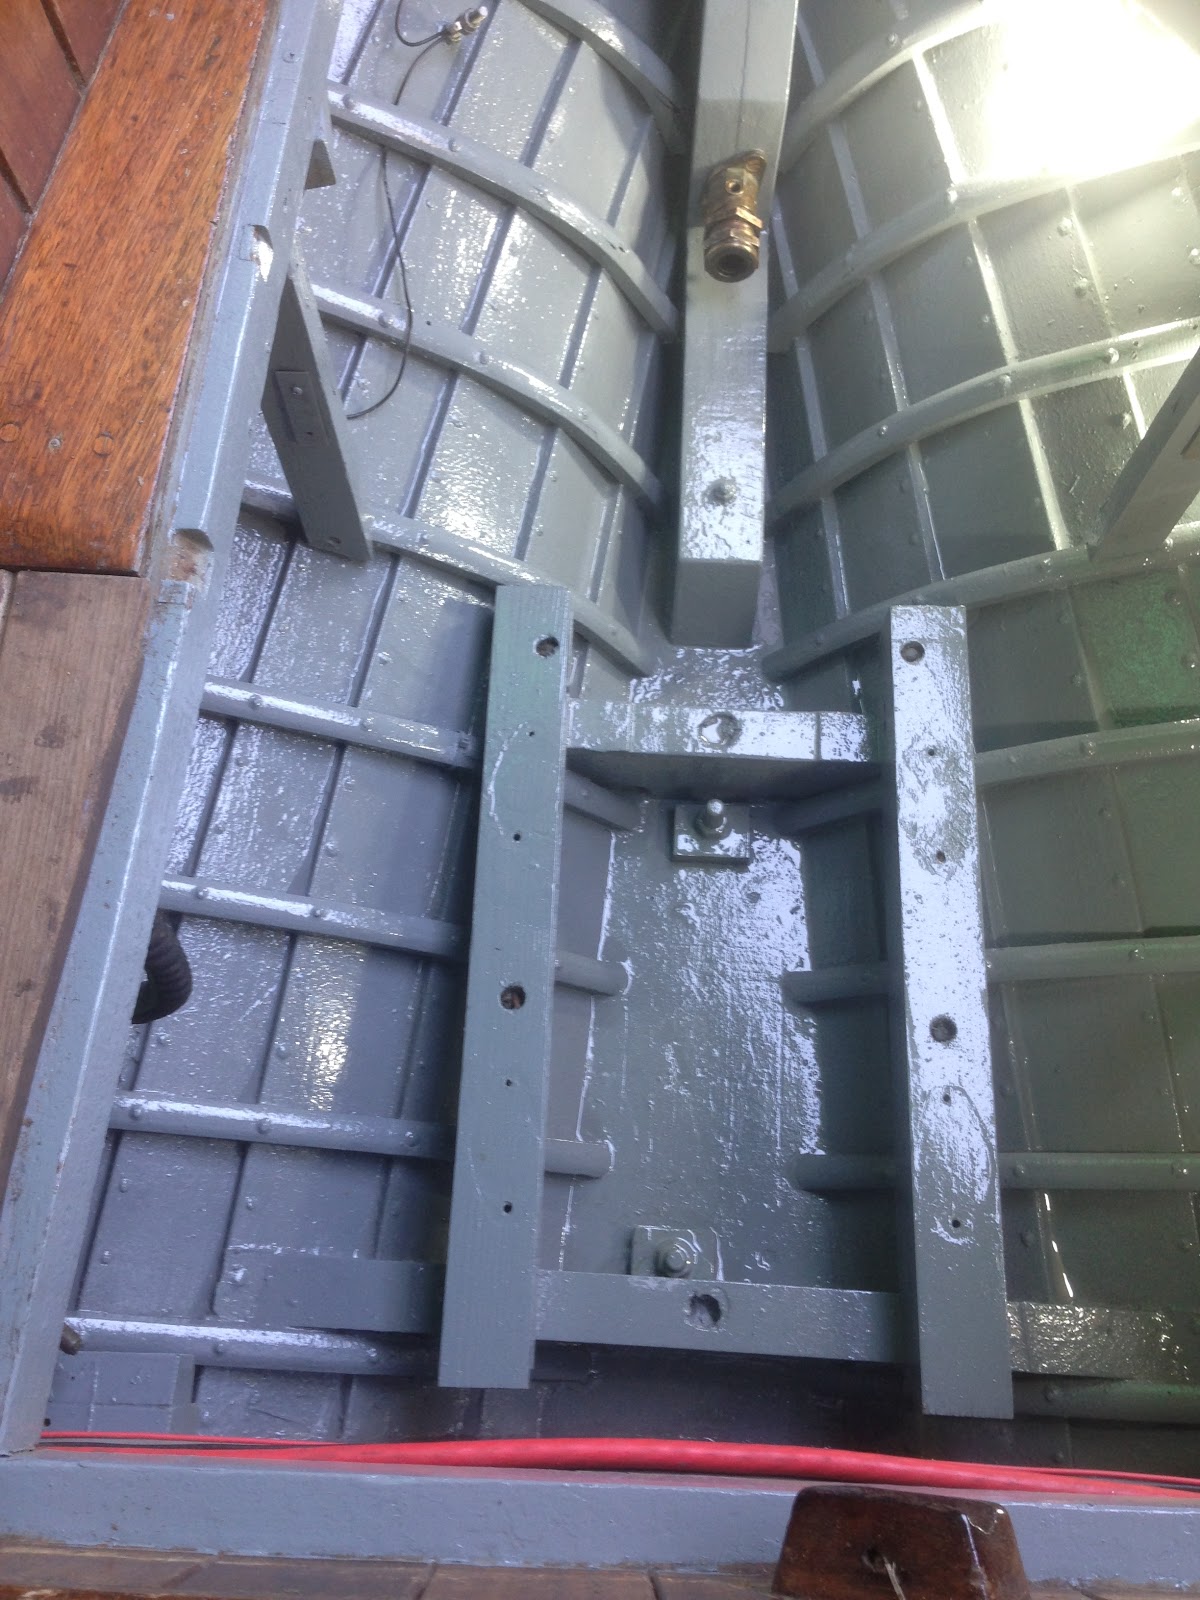
 |
| Deck sheathing was OK |
Soaked in epoxy and then primed before bedding in on mastic and bolting down again.
 |
| New pad fitted |
The next job I looked at was to try and figure out where her deck was leaking on the port side (the only side she leaks!) and I had it in mind to renew the 'quadrant' batten between cab side and side deck. The bungs over the screws were chopped out and I found the batten was secured by pozidrive stainless self-tappers - someone had done this job before.
With all the fastenings out a bit of levering and prising showed that this batten was not coming off without a fight and possibly damaging the deck sheathing and/or cab side. So I had a change of plan and decided to strip all the old sealant bead and varnish from batten and re-seal it again as I've done previously.
Whilst cleaning it all up and refastening the batten I found the possible source of one of the leaks; a hairline split in the deck sheathing where it is becoming detached from the deck below. This was given an injection of epoxy bonding primer and then coated in thickened epoxy. This repair will keep the water out.
Cabin sides varnish rubbing down
180 grit used on bare wood and 240 grit on old varnish
New plugs were fitted to hide fastenings
Once most of the external varnish was prepped (her winter cover was left on and pulled up on each work session) I started flatting down the topsides. The paint was still in pretty good shape after four seasons and a bit of chafe from boatyard slings and nail head filler to be prepped, primed and undercoated before the whole lot was rubbed down with 240 grit. Masked and just one coat of white topsides enamel was then applied and that's all she needed. Each re-coat has been the same and seems to hold up quite well with only a slow build-up of paint thickness.
Rubbing down - done over a few evenings
New topsides enamel freshly applied
240 grit paper was used but 320 may have been a better choice
as sanding scratches are slightly visible in the finish
The battered rub rails were stripped of varnish next and given a thin coat of Sikkens Cetol to stain them and provide some UV filtering.
Rubbers stripped and sanded
A thin coat of woodstain applied to act as UV filter
The rest of the brightwork was rubbed down including the transom. A thinned coat of varnish was applied to the previously stained areas followed by three full coats with a bit of flatting down between coats. Then two further coats were applied to everything coat-on-coat on consecutive days - fortunately the weather was settled in early April with a lightish easterly blowing in from the sea.
Varnish going on - masking tape keeps it off the topsides
Finished brightwork
I turned attention to the below waterline areas next and wire brushed the rust and loose paint off the steel bilge keels and gave them the annual two coats of zinc-rich primer followed by antifouling primer before then antifouling the whole of the bottom. I've always just used a 3" brush for applying antifoul as its the only way, I feel, to paint into the lands properly. International Cruiser 250 is my preferred anti-barnacle weapon of choice.
More masking off later the boot-top was applied - red Trilux 33 used here.
Dealing with this rust is an annual job
Last job before launch was to re-paint the fore, side and aft decks. The coach roof was done in 2019 and can wait another year.
A few rusty deck nails were picked out, epoxied and sealed and the tiny split in the port side deck sheathing was repaired before a coat of cream Interdeck was applied (more masking off).
 |
| Deck paint applied |
The last jobs to do before launch were to remove the winter cover, re-stow her anchor and cable, hang the rudder (which was painted and varnished off the boat) test the engine and bend on the mainsail.
Waiting for the boatyard hoist
On the sand - waiting for the tide
Afloat finally
Thanks for reading,
Happy sailing in 2021