Monday 14 November 2016

Hatch slider repair

Whilst working on Enfys' deck and grasping hold of one of the hatch runners I felt my fingers dig into the forward end of the port side one - a soft-spot had been developing adjacent to where a fastening holds it through the cabin top.  I didn't want to leave this freshwater decay too long in case rot spreads into the ply cabin top - much more difficult to repair - in my opinion.
Tell-tale blackened timber
The slider top was removed and the runner cut down and back to sound timber. A single screw fastening was removed - driven through from below. Once cleaned up I found that the runners had been fastened down on top of the deck sheathing so the plywood deck had only been getting wet in the area immediately around the single screw fastening and seems sound. The original glue was very dark - Resourcinol?
Cutting back to good timber
A simple 'scarf' was cut and a new piece of Iroko was worked to suit. This was epoxy glued and screwed into place.
New section glued and screwed
Job done. A bit of sandpaper and varnish was then all that was required.
There is a similar patch forming on the forward end other rail and this will have to go on the next winter 'worklist'.

Wednesday 18 May 2016

Finesse 24 Standing Rigging replacement

The existing standing rigging on Enfys was more than 10-years old, possibly even older.  Although it looked in good condition the surveyor had 'recommended' its replacement.
At the end of the bad winter weather we chose a time to get the lay-up cover off and with the boat on hard-standing I arranged a small team of helpers and we lowered her mast.  A ladder lashed to the pushpit was the landing place and it came down without incident.
The six shrouds, backstay and forestay were removed together with their bottlescrews - all marked to show their original in-service lengths.  There was a bit of head-scratching as to how the headsail furler came apart but eventually I worked it out and dismantled the inner liner allowing the wire to drop out. The complete set was sent away to the riggers and a couple of weeks later a nice new set arrived by courier.
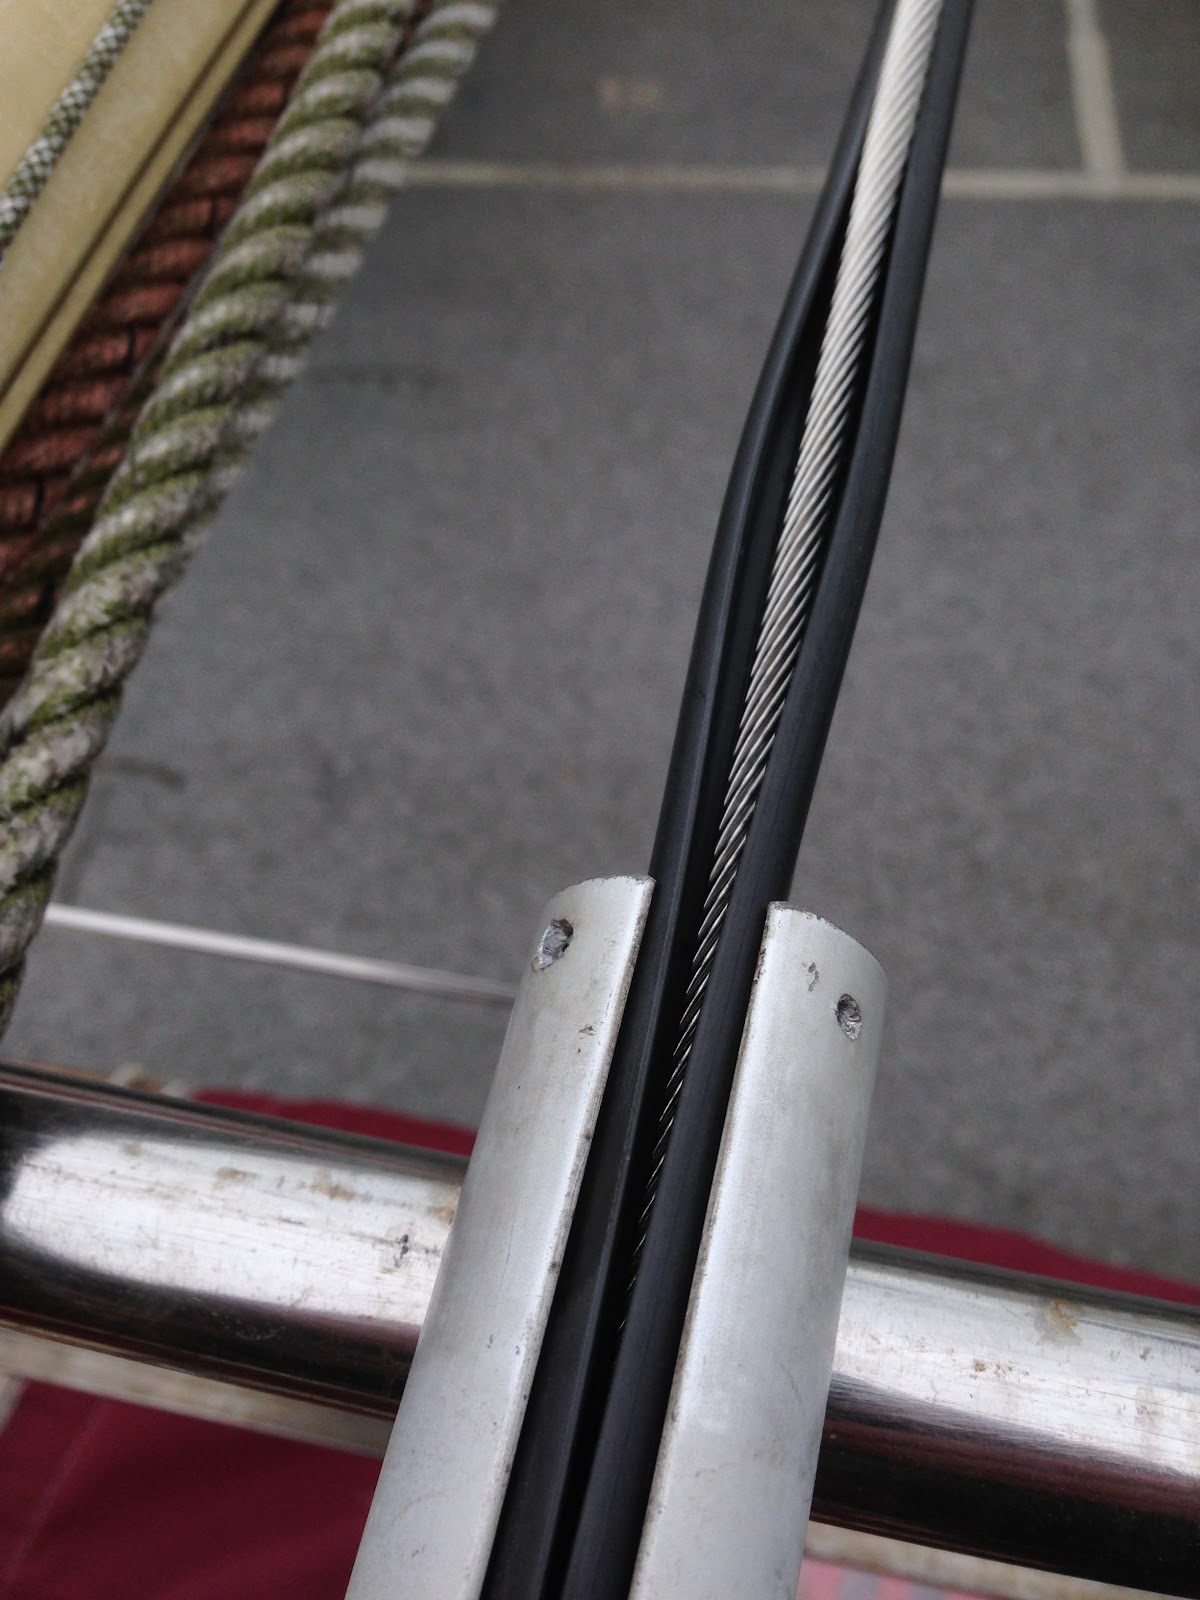
Forestay inside lower end of furling tube
Whilst I was waiting for the new rigging to arrive I took the furler top swivel and furling drum apart to service their bearings since they both felt stiff and a bit 'gritty'.  I like their design; being able to completely strip them down to clean and re-grease the ball bearings before re-assembling them.
Furler top-swivel in bits

Furling drum bearing assembly removed for overhaul
Another job that was done with the mast down was to remove the wind speed and direction unit - the anemometer had lost its cups shortly after we bought Enfys and I decided not to spend £120 on a new one! I pulled a new cable in for the masthead light and as I did so an electrical cable tie was wrapped around every yard or so and left full length in an attempt to wedge the loose wires in place inside the mast to stop the annoying cable slap we had been enduring whilst afloat.
Nice shiny new rigging. The bottlescrews are chrome-plated bronze

Cap shrouds re-fitted to cross-trees


Re-fitting forestay. The liner is an open figure '8' of plastic that had to be slid in 1m sections into the tube
With all the rigging re-mounted and a new staysail halyard and block shackled to the fore side of the mast a party was assembled and the mast was re-stepped. To my relief all the lengths were spot on - thanks to the care taken by the riggers.  They had informed me that although both cap shrouds were identical in length, all four of the lowers were different! They re-created the differences and one can only assume it is to do with variations in the heights of the boat's chain plates.


Preparing to raise her mast..

She's up.


Thursday 21 April 2016

Repainting the boat's bottom

Once stripped of old antifouling (which I think is the first time since she was built since the thickness and weight of paint was staggering), three coats of underwater primer (International Primocon) were applied to the timber, the first coat thinned by about 10%.  She was lightly sanded between coats and one or two fastening heads were filled and faired.  To my great relief, despite the boat's age, the bottom planking is in great condition, no damage, splits or shakes and all the fastenings look good and tight. Painting the bottom of a clinker hull lying on one's back is quite fiddly, making sure that the plank edges all get painted. I see the GRP yachts being roller-painted in a few minutes but I used a 2" brush and took my time to get a nice smooth finish.
Once the timber was primed I chipped and de-rusted the ballast keel (iron) and bilge keels (steel plate) to the best of my ability.  I would dearly like to have the bilge keels properly grit-blasted and then galvanised - as they possibly were when new - or have new ones fabricated since these are now getting quite deeply pitted in places. However, for now the iron and steel was given two coats of zinc-rich primer and then a coat of Primocon. There is a zinc button anode on each side of each keel, through-bolted. I fitted new ones this season since the previous ones were pretty much exhausted after five years part-time immersion.
I applied two coats of 'Cruiser' antifouling.  It states on the tin that one coat should last all season but examining the small print reveals that when antifouling from scratch i.e. not recoating, then two coats must be applied.  One 2.5l can was enough to give the hull two-coats and the rudder also.
The boot-top was then masked off and two coats of hard antifoul applied (International Trilux)

Primer - three coats applied over a few weeks as other works were being carried out
First coat of antifouling paint
Antifouling completed, boot-top applied and anodes fitted to bilge keels.
The bottom of the boat will never look better.


Tuesday 19 April 2016

Bottom paint preparation

After numerous sessions of stripping off the old antifoul back to bare wood, including taking the boot-top off. I found that the topsides paint overlapped under the boot-top and that the builder had actually scribed a waterline in - although completely buried in the paint.
I left the areas nearest the waterline till last especially near the bows that got the afternoon sun since I was concerned that she would dry too much and open up.
Stripping the old bottom paint - she was carrying a huge weight of paint
On some of my stripping sessions the weather was so damp that there were was salty water dripping from the planking. The bottom was sanded and looked so good that I considered giving her bottom a varnish finish! - Only joking!


Bottom sanded ready for primer.


The weather was dry in late February, early March so I started to get some primer on, thinning the first coat with about 10%. International Primocon was used.


Primer going on the areas that were already bare.


Sunday 3 January 2016

The least cherished job?

Enfys is now laid up ashore on the hard in Saundersfoot Harbour and we have put the cover on with the hope that the weather would allow some maintenance - no chance! It seems to have rained almost continuously since November and we have done little more than winterise the engine and stow gear.
However I have started a long-overdue task that cannot be put off any longer : A complete strip back to bare wood of the anti foul and bottom re-paint. Lying under the boat (with the rain pouring down) I have made a start. A tungsten-carbide bladed scraper seems to be the best weapon . The old paint comes off in dust and small flakes and gets everywhere so I need to be fully goggled and masked-up for this horrible job.
Stripping off the old bottom paint.